

Quick Start Guide
This step by step guide will help you install and start the Webswing server and set up your swing application in 5 minutes.
Following image link will bring you to our youtube video tutorial:

Prerequisites
- Java 1.8.0 or newer, Java 11 or Java 17 installed*
- Modern browser installed
*Till Java 8, 11 and 17 are still supported please use the latest version. Very old versions might not be fully compatible, check logs in such a case.
For the purpose of this guide, we will use a Windows-based box. Linux installation is covered on a separate page.
Starting the Server
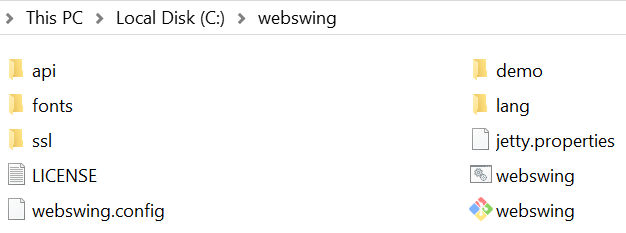
Download the distribution from the Webswing home page and unzip it to a new folder. For demonstration we use C:\webswing
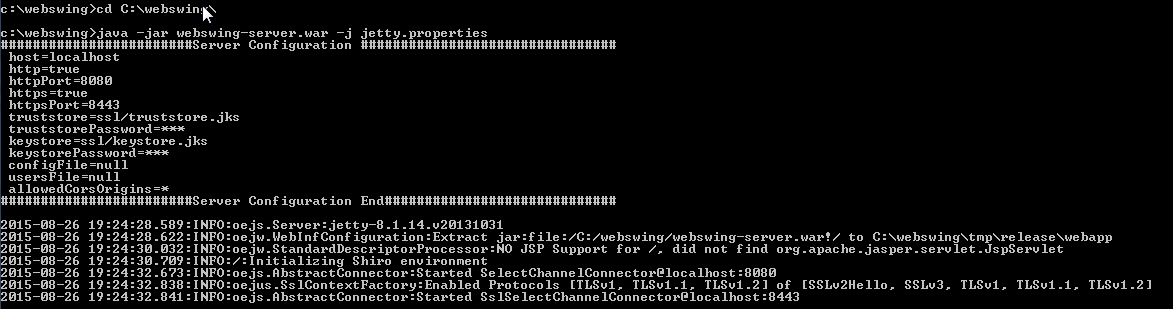
Open a command prompt and make sure you are using the current Java executable. (Verify by running java -version)
Double click on the webswing&admin.bat file to start the Webswing server and Webswing Admin Console.
Running Demo Application
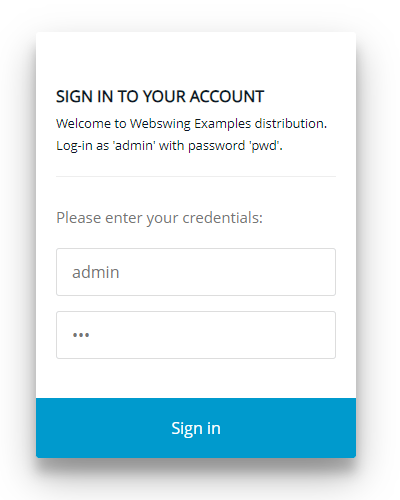
Open your browser and navigate to address http://localhost:8080. Login using the default username and password admin and pwd.
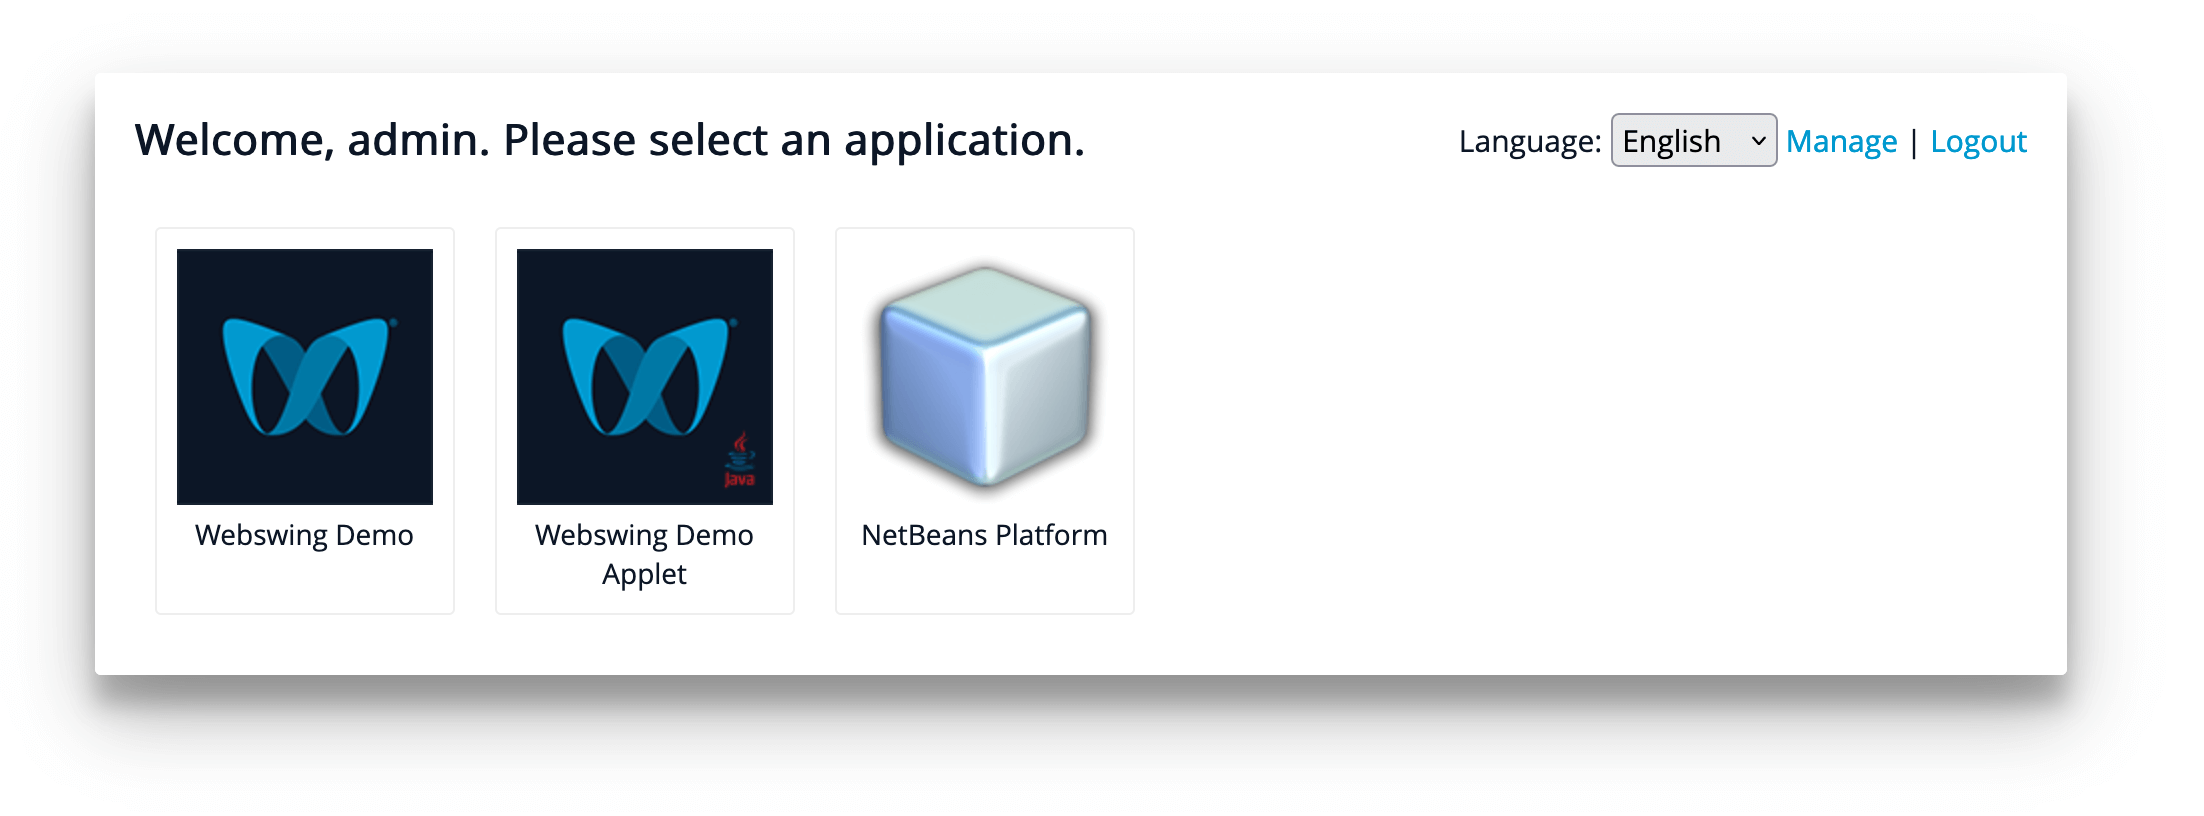
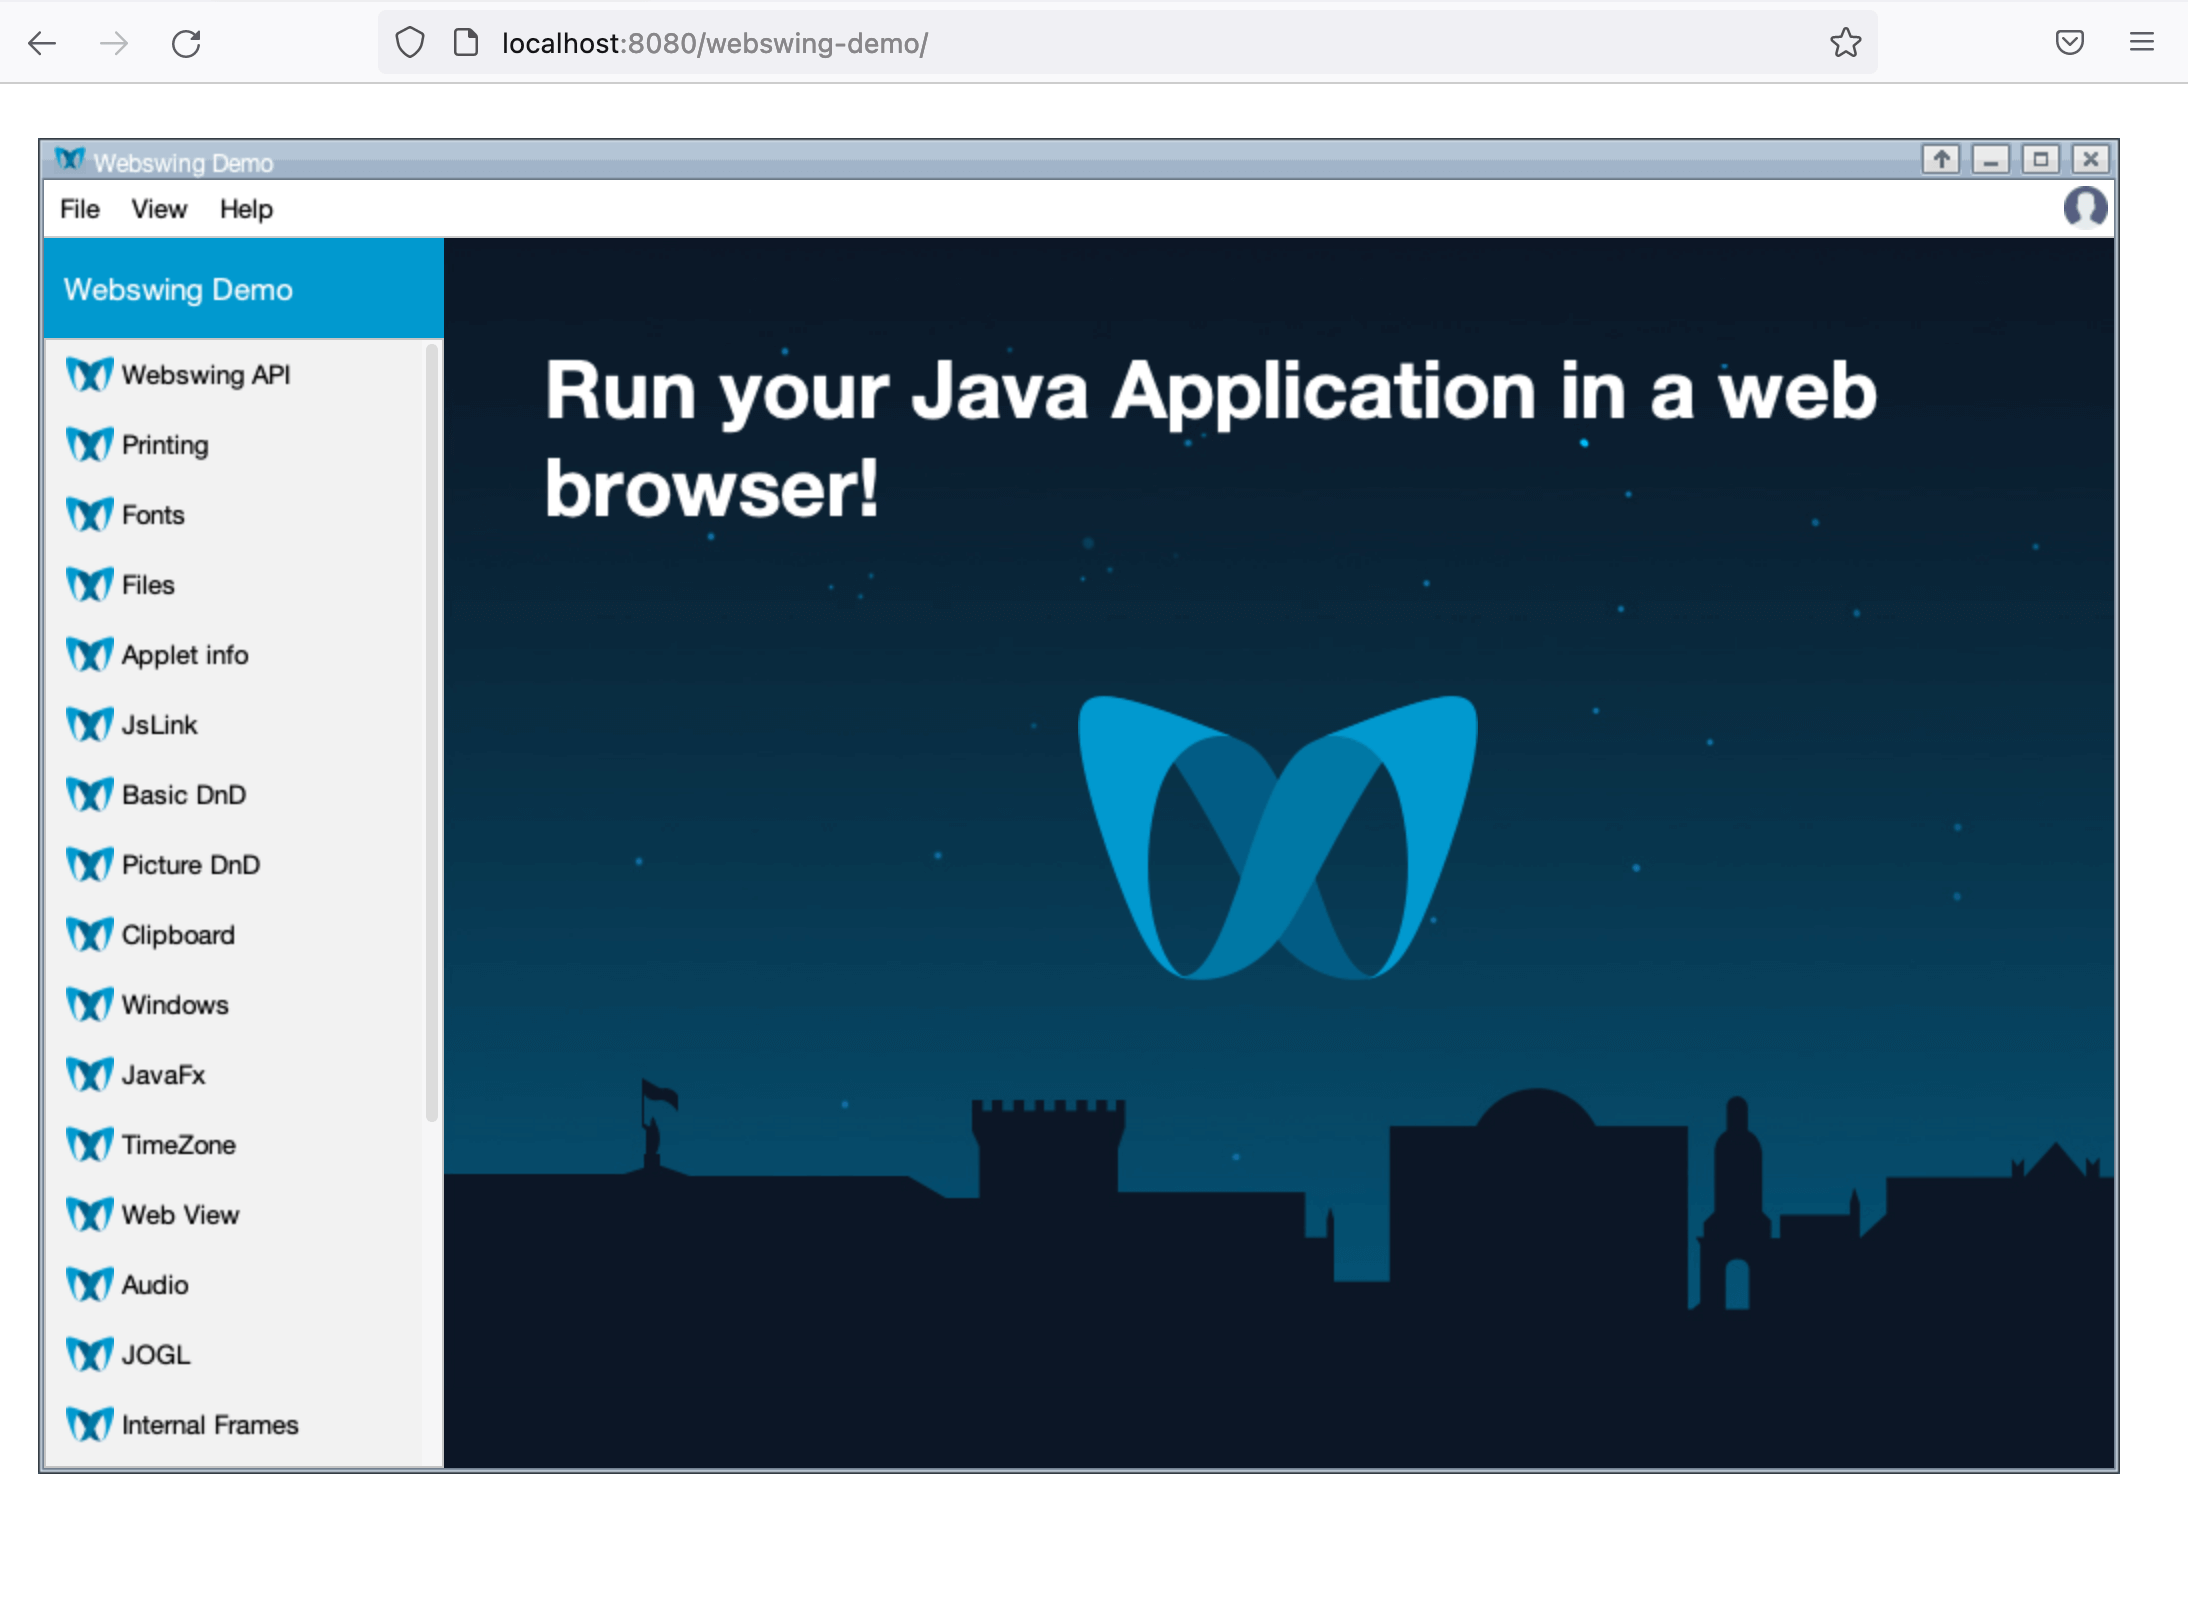
You should see the following screen with 3 demo applications. You can try one of the demo apps by clicking the icon.
After starting the Webswing Demo application you should see the following screen:
Setup Application Using Quick Start Wizard
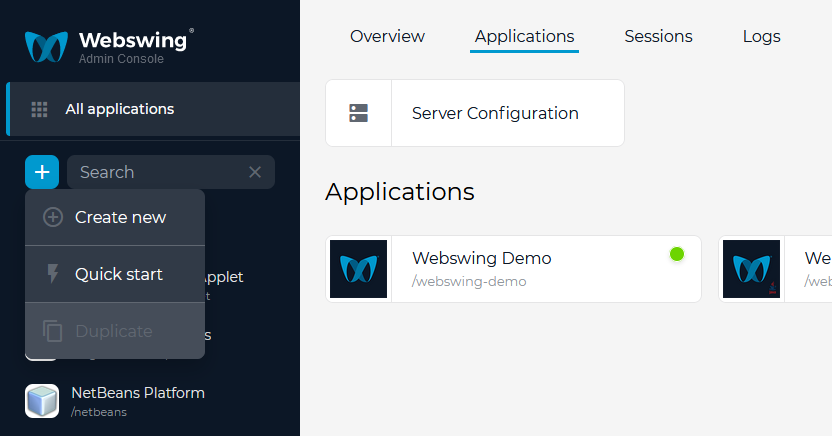
Open your browser and navigate to address http://localhost:8080. Click the Manage button located on the top right corner to navigate to Admin Console URL as defined in your configuration. If you don't see a Manage button, please first configure Admin Console.
In the admin console, Go to Applications view, then click the plus icon located in the left sidebar and choose Quick start option.
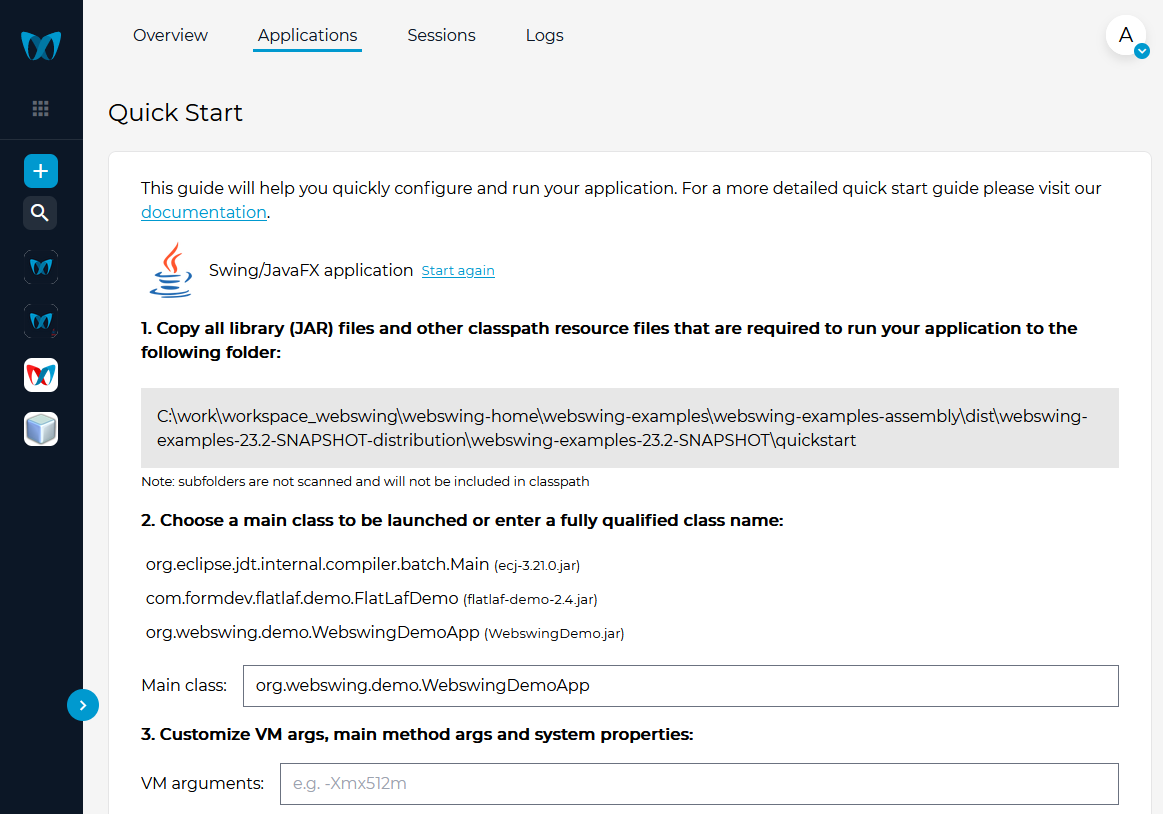
Now you will be guided through some simple steps to quickly configure your application.
For a manual configuration of application see below.
Setup Application Manually
For this demonstration we use the CelsiusConverter application from Oracle Swing tutorial.
The CelsiusConverter.jar has been put in the C:/webswing folder.
Open your browser and navigate to address http://localhost:8080. Click the Manage button located on the top right corner to navigate to Admin Console URL as defined in your configuration. If you don't see a Manage button, please first configure Admin Console.

In the admin console, Go to Applications view, then click the plus icon located in the left sidebar and choose Create New option.
Enter the name of your app. From this name is created the HTTP URL path part under which your app will be available, if you would like to change this path you can do so by changing it below the name field. Then Submit it.
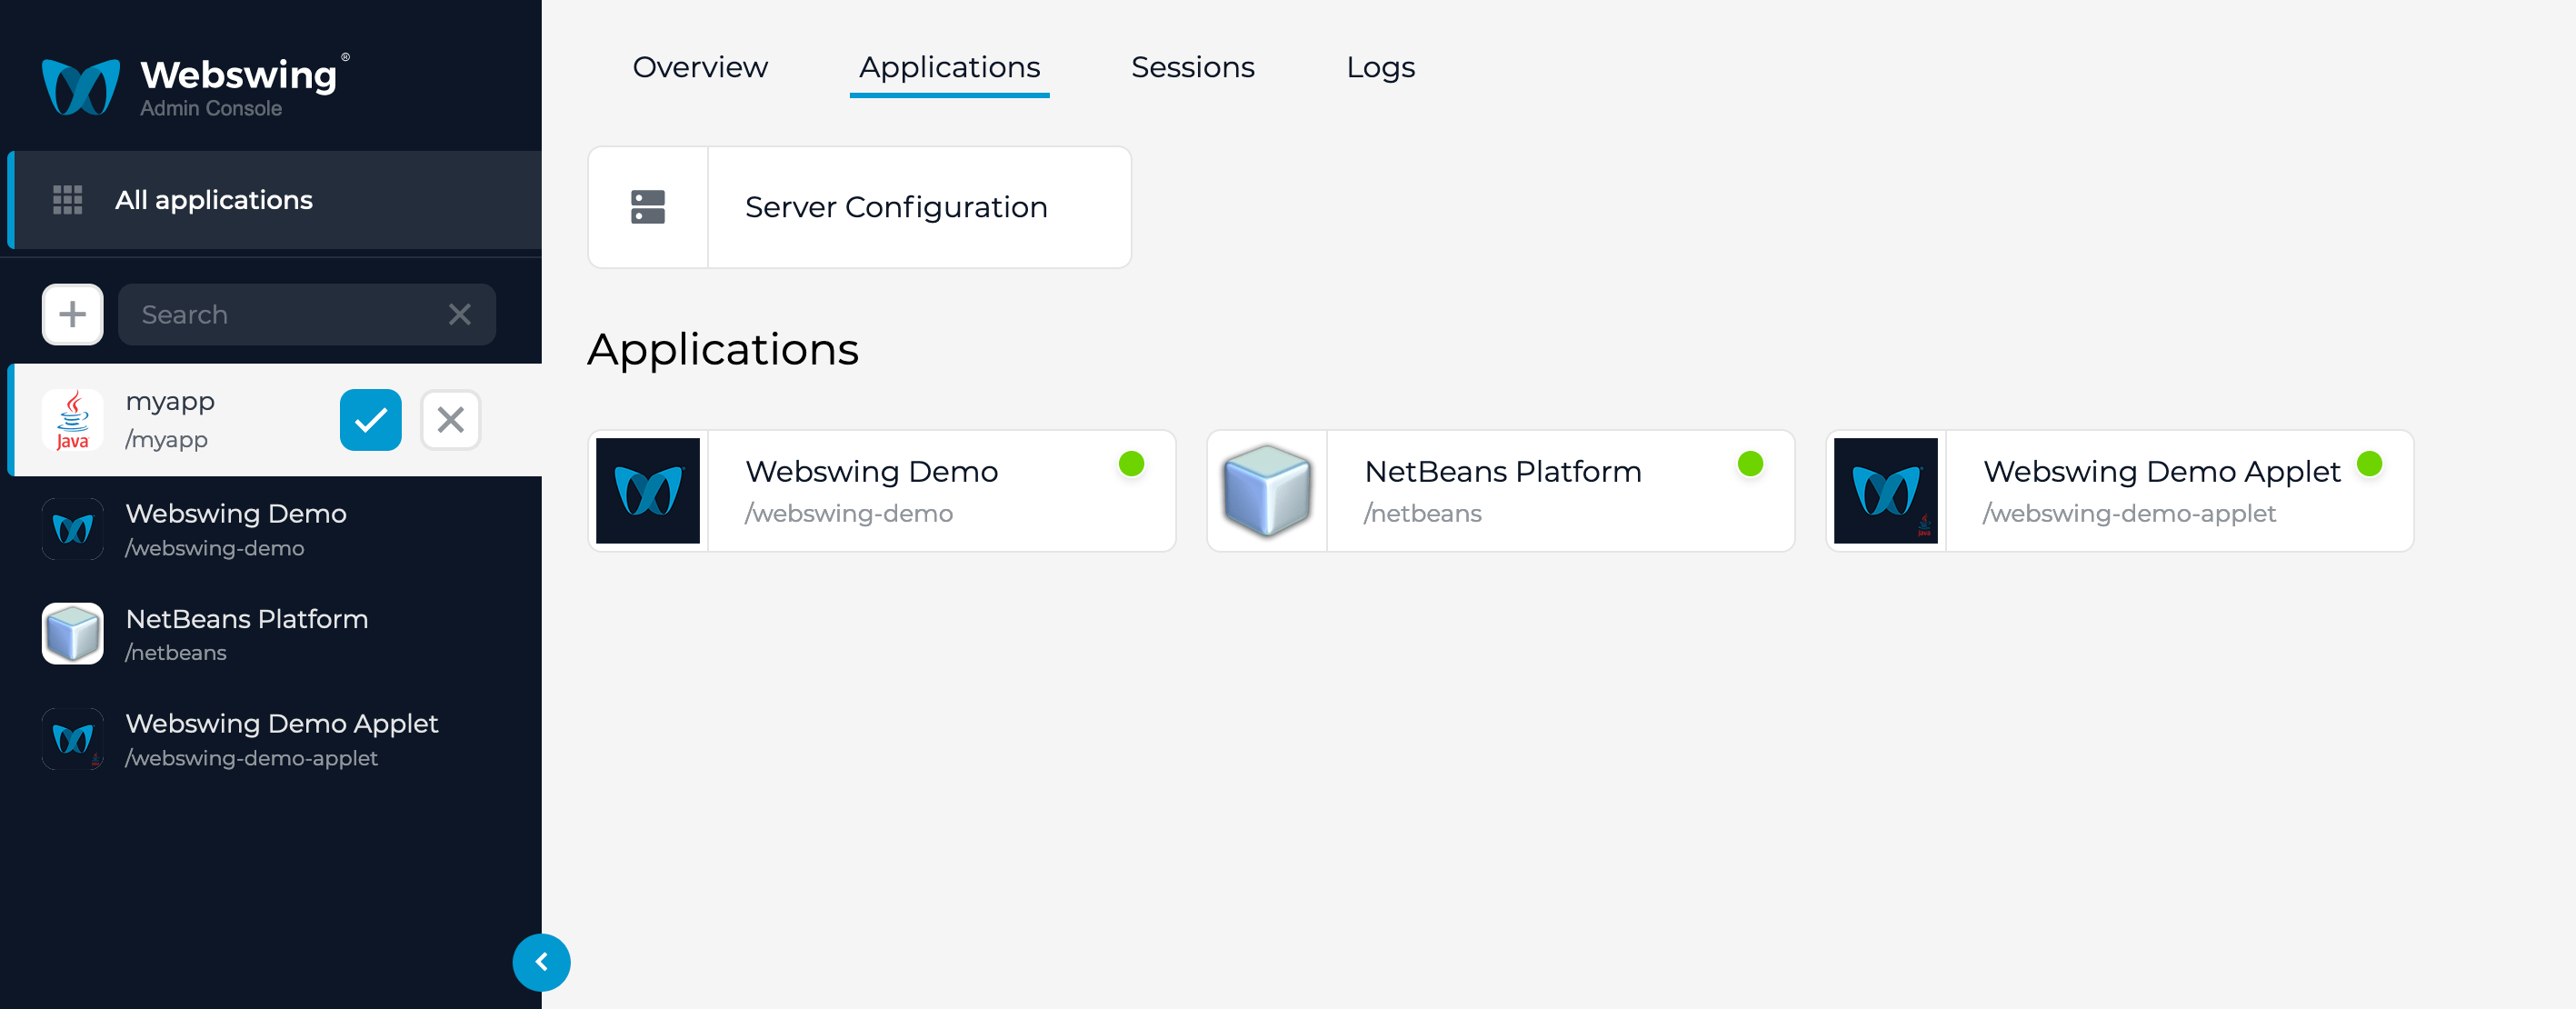
Locate My Application in the sidebar to show the configuration.
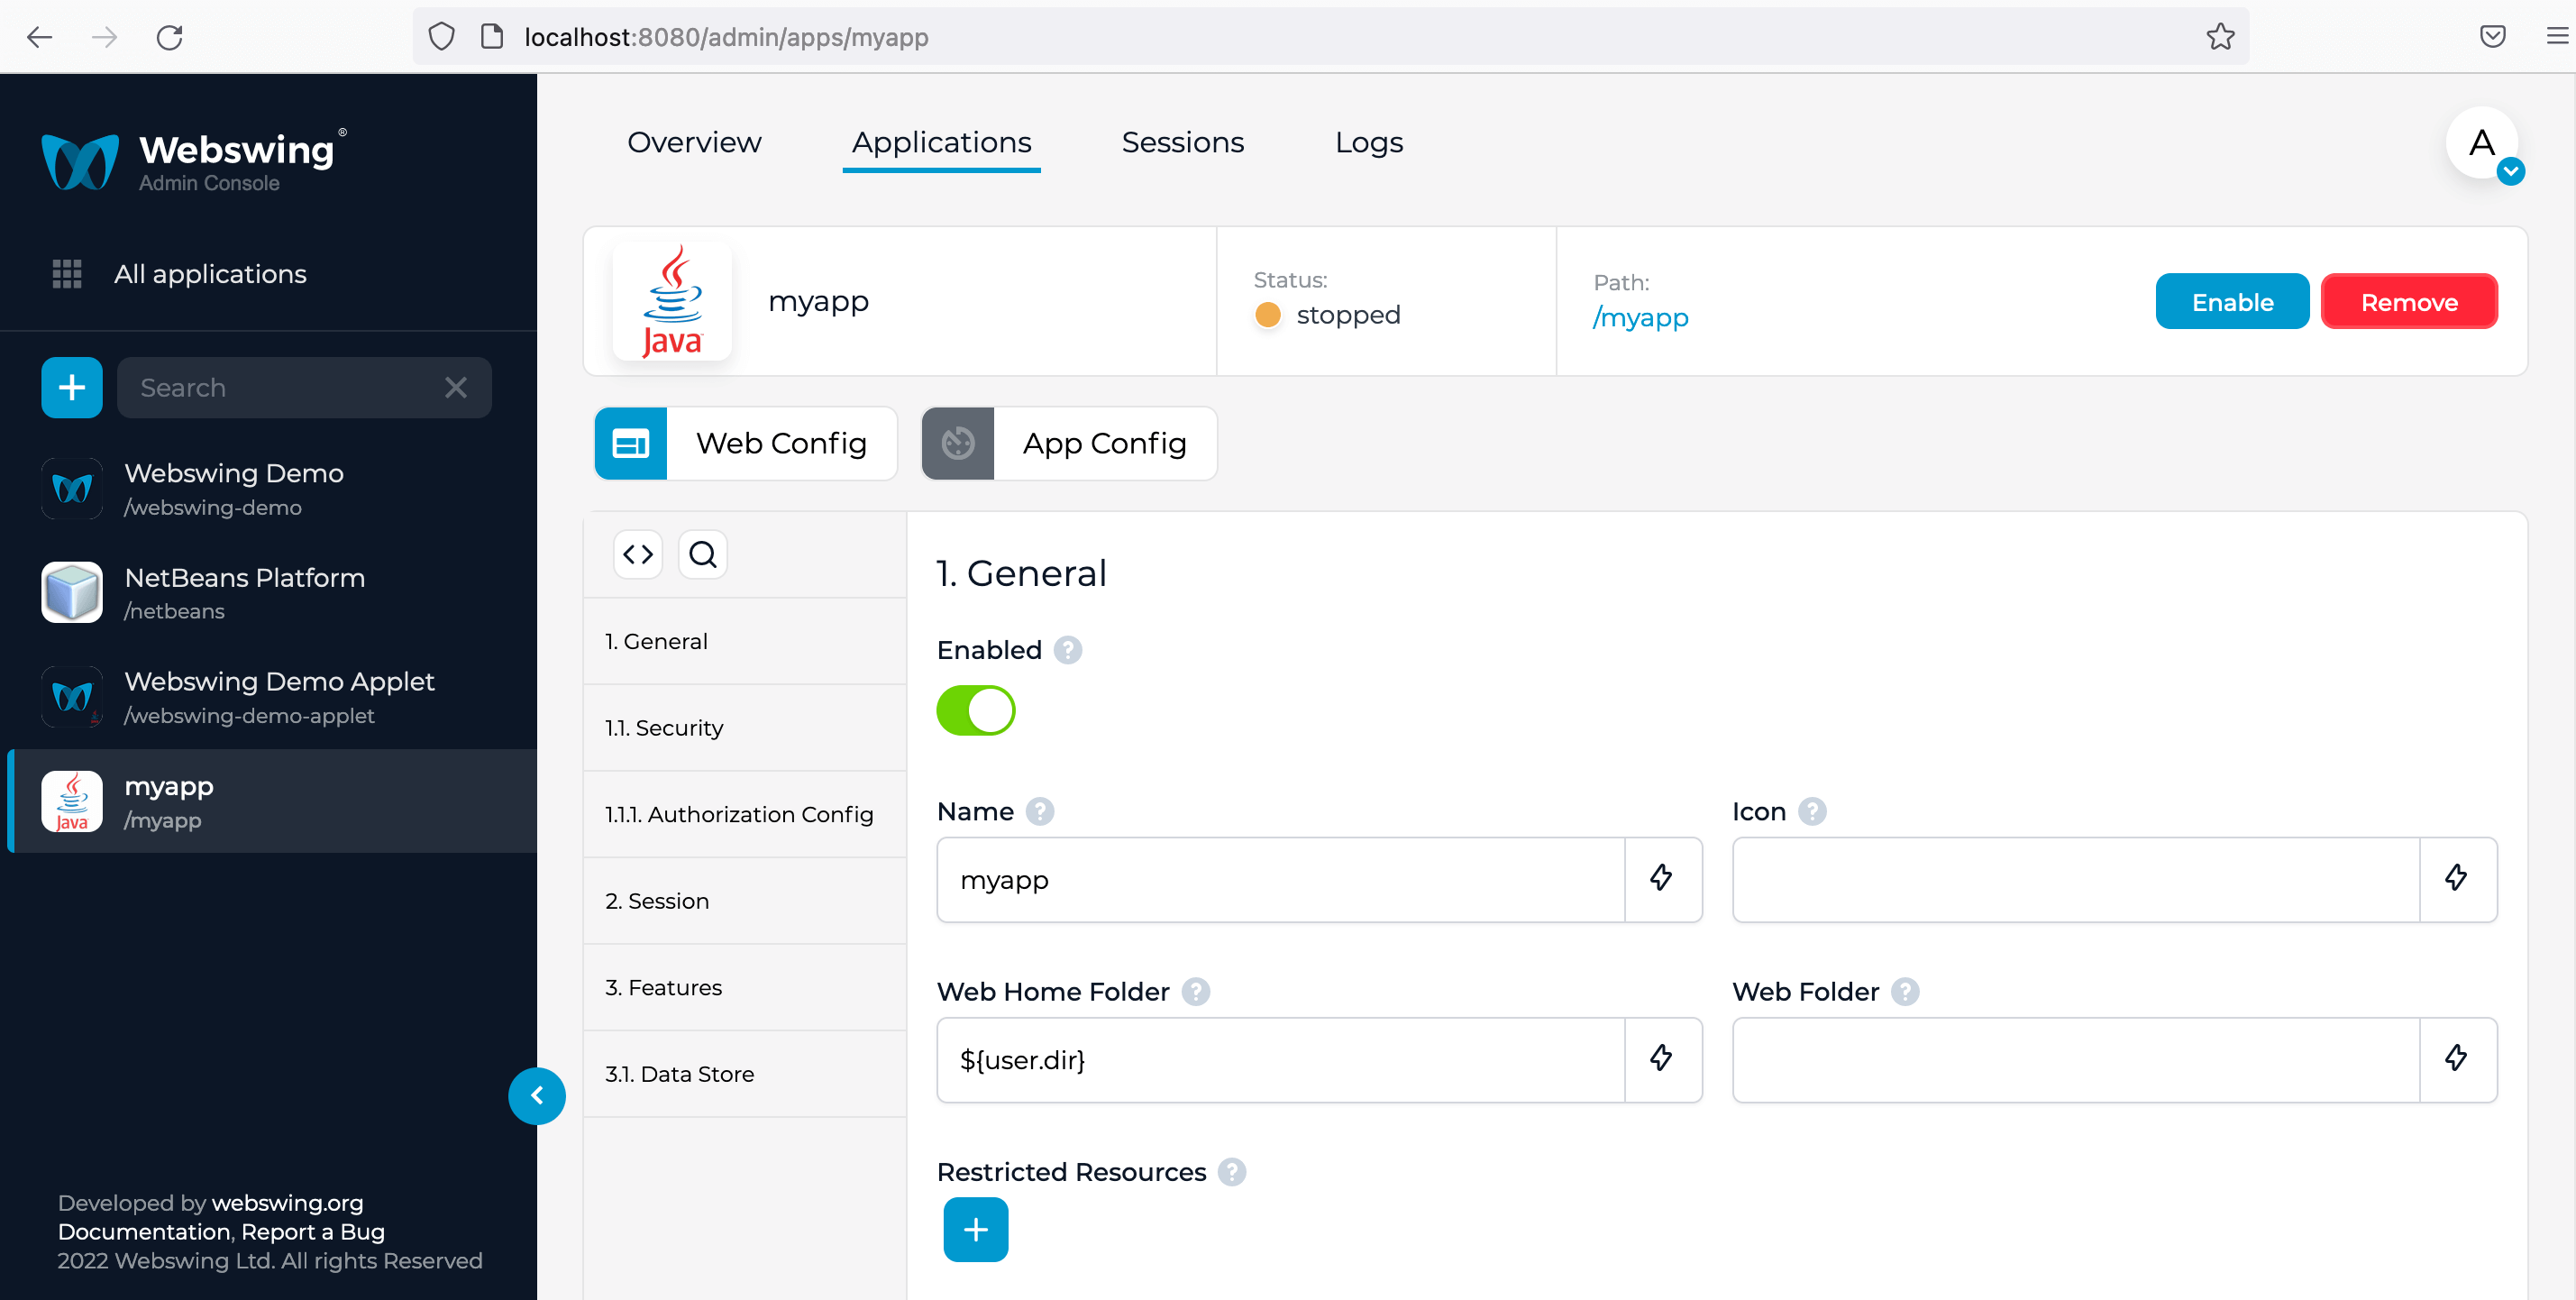
For the quick setup:
- In App Configuration adjust section Java:
addCelsiusConverter.jarto the Classpath field
addlearn.CelsiusConverterGUIto the Main Class field.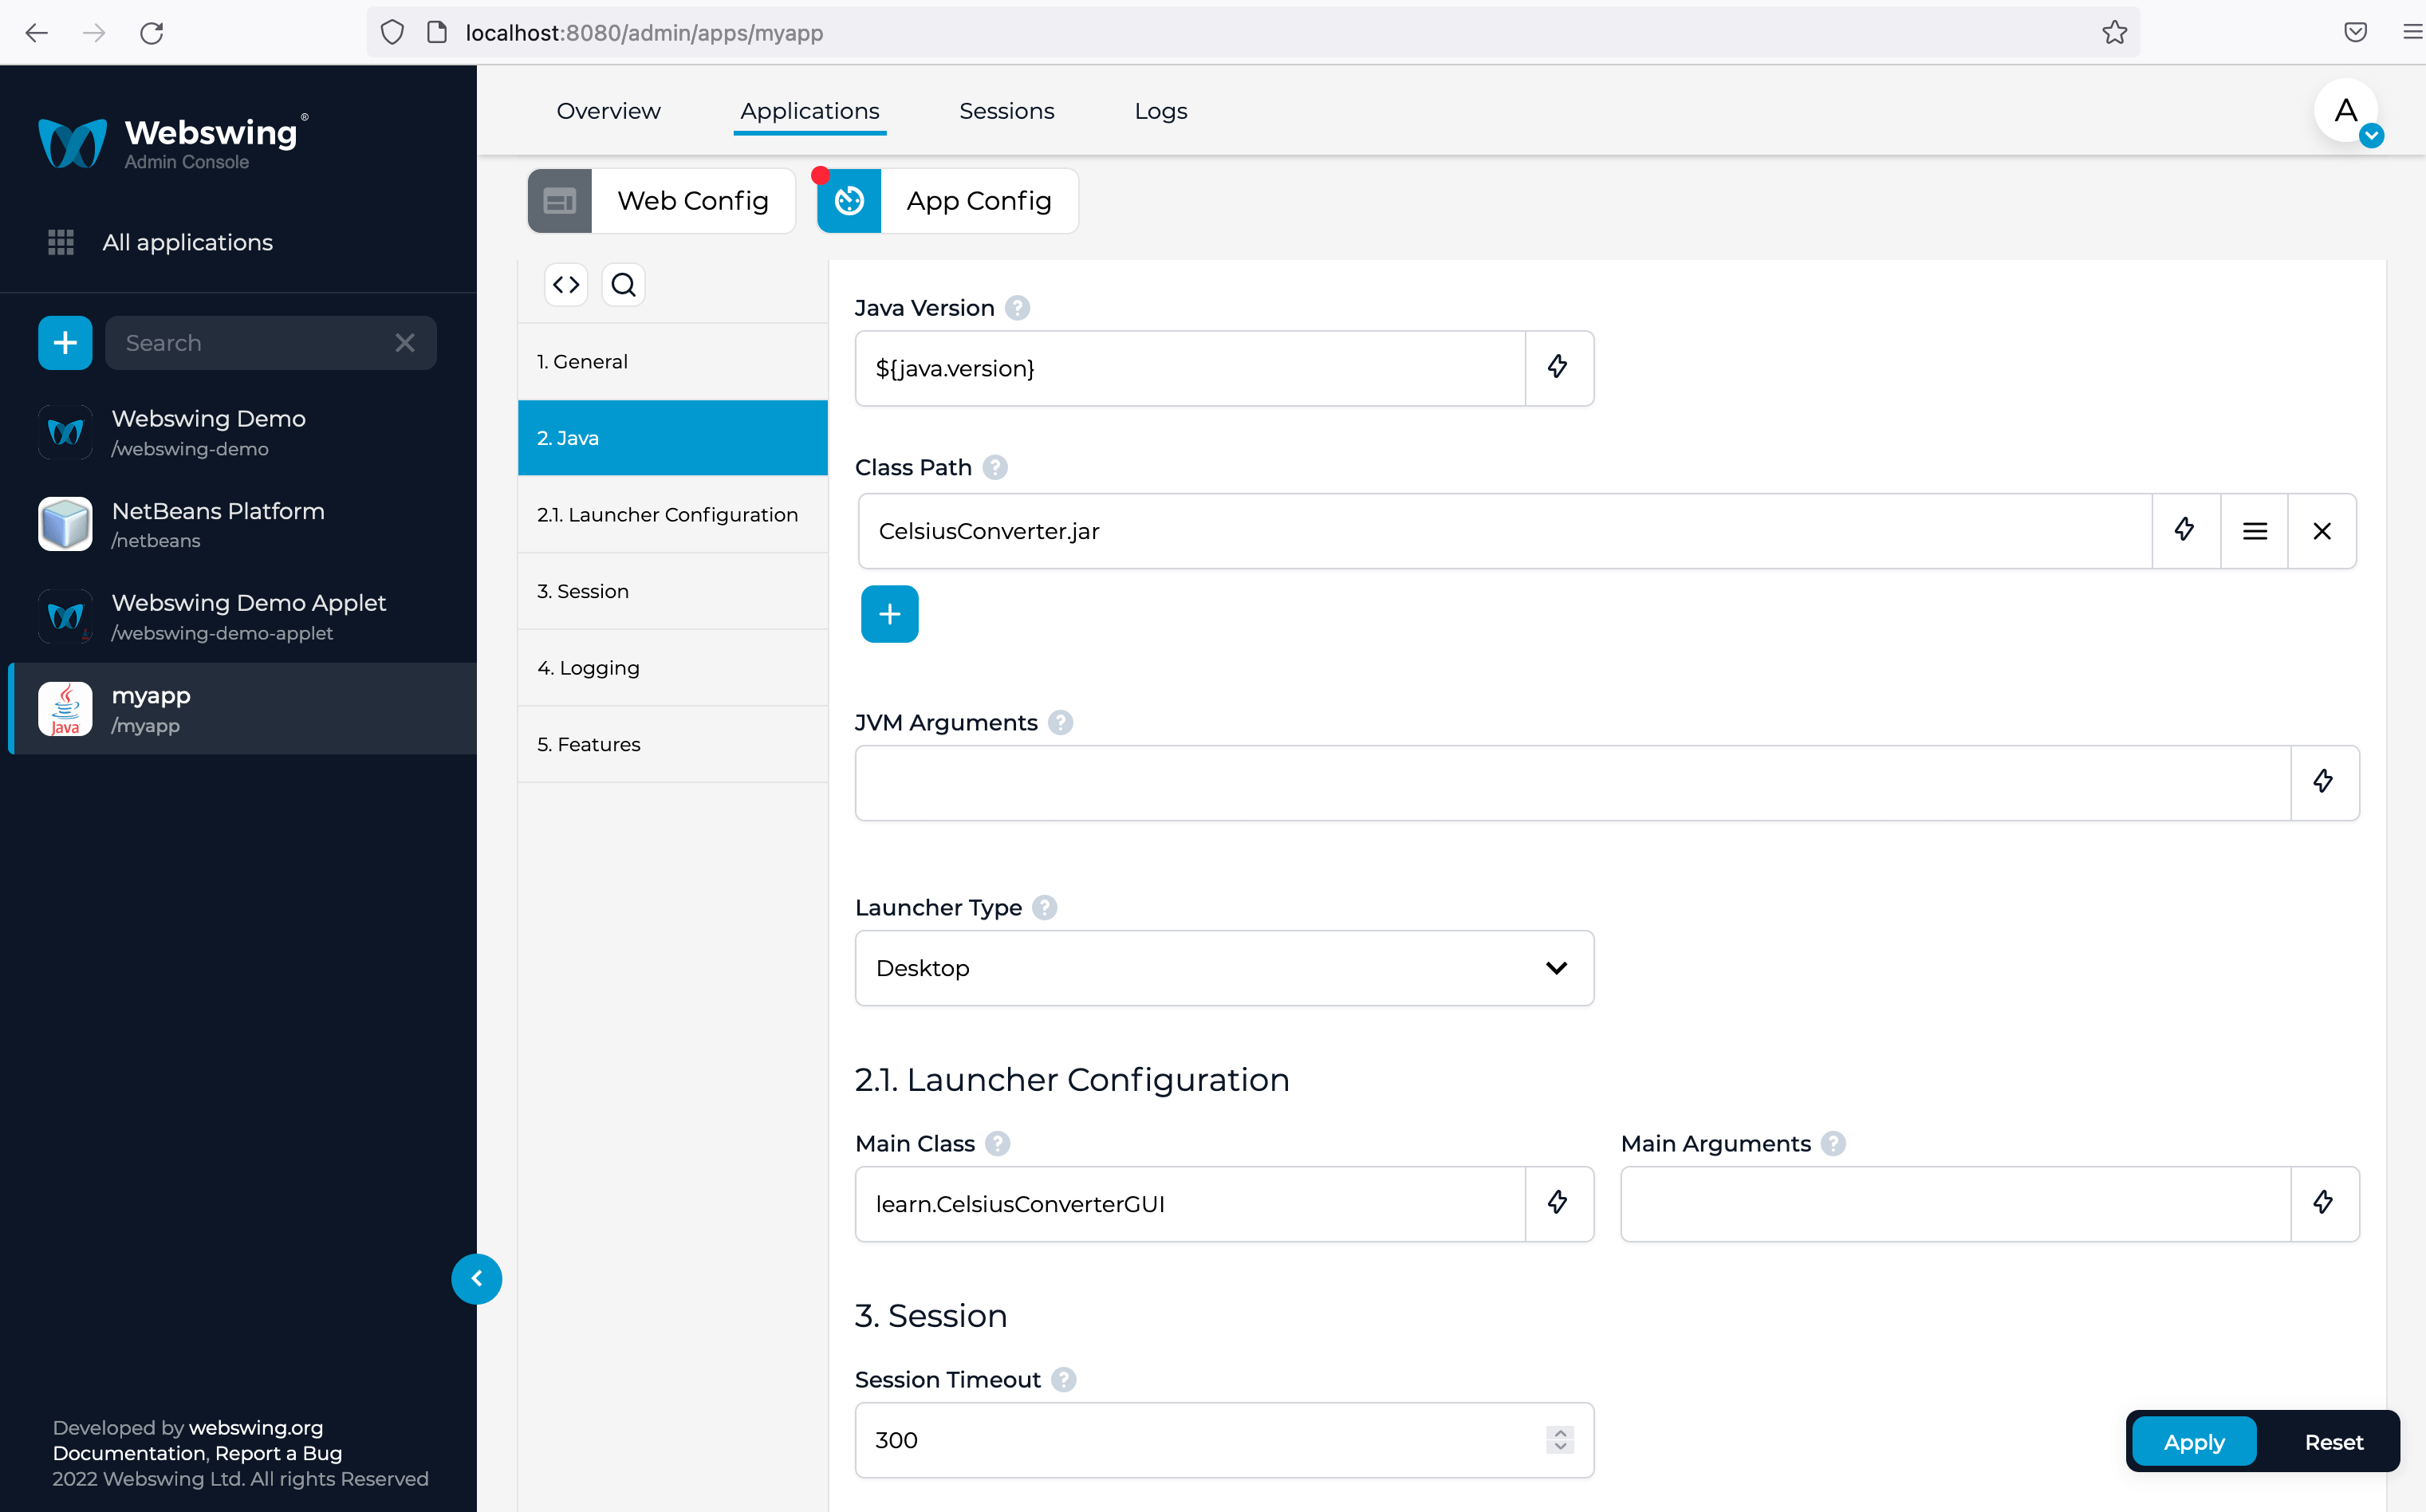
- Click Apply button
- Click Enable in the right top
- Navigate to path as entered in the beginning http://localhost:8080/myapp
The application should be also available under a new icon within the application selector http://localhost:8080.
In case the application fails to start, search for the problem in the log file webswing.log located in the Webswing home folder - in our case C:\webswing.